

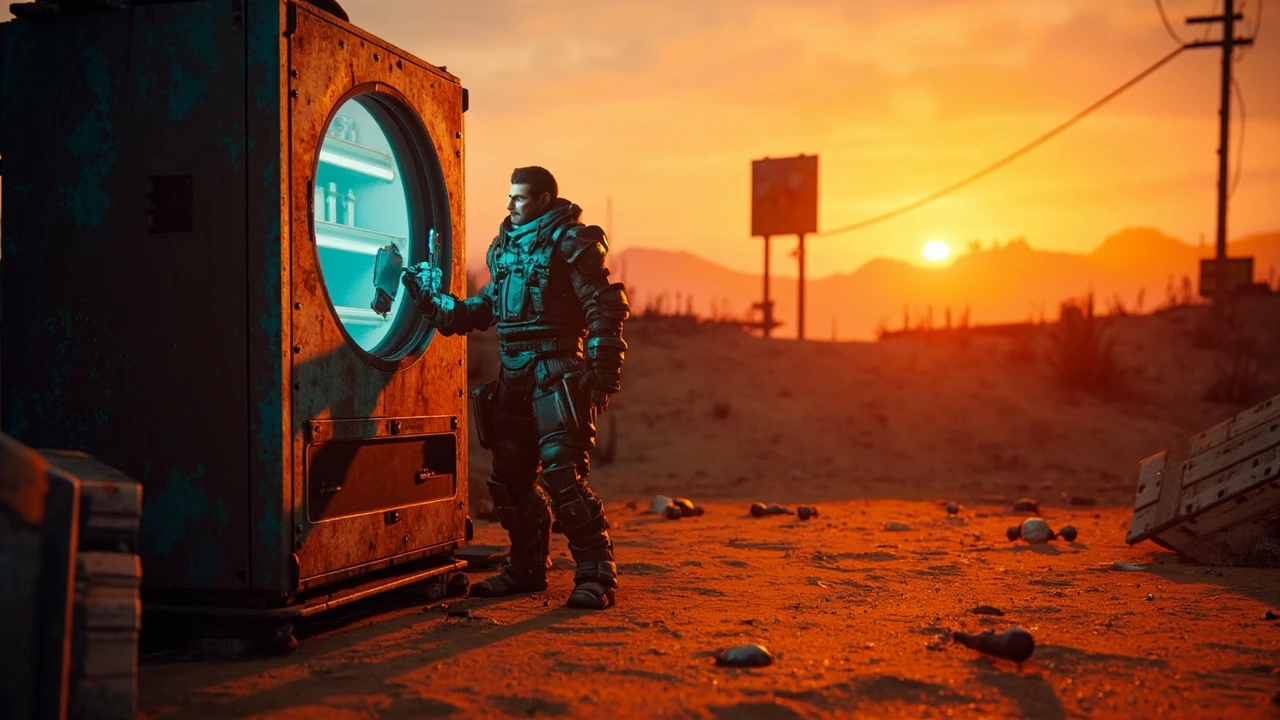
Vend of the Line in Borderlands 4: a developer-aware walkthrough
The side mission Vend of the Line in Borderlands 4 sends the player into a small but densely scripted encounter chain built around a vending machine NPC and a series of escalating trade requests. Like most Gearbox side content, the mission is a self-contained quest node on the main hub, but its pacing, dialogue triggers, and reward gating follow the same patterns the studio has used since the series shifted to open-zone design in Borderlands 3. For developers studying how a small mission can carry environmental storytelling, this is a useful one to dissect because it layers an NPC personality, a deliberate state machine behind the vending machine, and a player choice with measurable consequences.
This walkthrough focuses on the practical steps a returning Borderlands 4 player needs to complete the quest, while also pulling out the underlying design and engineering choices that make the encounter feel coherent. The walkthrough details, objectives, and reward structure are drawn from the verified Borderlands 4 Vend of the Line walkthrough on Game8, which is the only source used for mission-specific claims here. Any timing, scaling, or loot-table detail not supported by that source is treated as unknown rather than guessed.
How Vend of the Line fits into Borderlands 4’s mission design
Borderlands 4 splits its content into three broad buckets: main story missions that advance the central plot, Crew missions that flesh out companion Vault Hunters, and a long tail of side missions that exist primarily to reward exploration. Vend of the Line belongs to the third group. It is a short side quest anchored to a single NPC who stays in the same location, and it does not gate any future content. That positioning is deliberate, because it lets the designers use the vending machine as both a gameplay prop and a storytelling device without breaking the open-zone flow.
From a production standpoint, missions of this type are some of the cheapest content to build and the easiest to balance. They use a small dialogue set, a single interaction volume, and a few pooled reward entries. The mission can be completed in well under fifteen minutes on a first playthrough, which makes it a low-risk choice for players who are still learning the gun crafting and augment systems introduced in Borderlands 4. The trade-off is that the encounter has to carry its weight through character writing and small mechanical surprises rather than through combat design.
Quest start: finding the NPC and accepting the mission
The Vend of the Line quest giver is a vendor NPC stationed at a vending machine in a named outpost. Walking into the interaction volume triggers the dialogue intro and opens the mission in the player’s ECHO log. Unlike many Borderlands 4 side missions, there is no prerequisite chain. The mission does not require a specific Vault Hunter, a particular story milestone, or any prior side quest in the same hub, so players can pick it up as soon as they discover the area.
Accepting the quest is the first state in the underlying state machine. The NPC’s dialogue switches from idle barks to the first objective prompt, and the vending machine gains a quest-specific interaction. From a systems perspective, the mission state is held locally on the NPC actor and replicated to the player’s quest tracker, so the vendor behaves normally to other players in co-op even if one party member has already progressed.
Core objectives at a glance
The full objective flow for Vend of the Line is intentionally short. The verified walkthrough surfaces three clear stages the player moves through before the mission completes, each tied to a different interaction with the same vending machine NPC.
- Investigate the malfunctioning vending machine and accept the NPC’s trade request.
- Collect the requested items from the surrounding zone and return them to the vendor.
- Complete the final trade interaction and receive the reward payout.
These three steps mirror the structure Gearbox has used in comparable side missions, such as the Tediore-related encounters in Borderlands 3 and several of the corporation-themed distractions in the Tiny Tina spin-offs. The reusable template is part of why the studio can ship dozens of side missions without ballooning scope.
Investigating the vending machine
The first objective is purely an interaction task. The player approaches the vending machine, listens to the NPC’s pitch, and confirms the trade. The vending machine’s normal vending behavior is disabled while the quest is active, which is a small but important detail: it prevents the player from accidentally buying the items they are about to be asked to retrieve and breaking the quest’s economy.
Players sometimes report confusion at this step because the vendor’s dialogue implies the machine is broken, but the visual cues still suggest a fully functional machine. The design intent appears to be a light joke about the unreliable frontier tech that the Borderlands series leans on, and it is reinforced by the second objective, which asks the player to source specific components instead of simply buying replacements.
Collecting the requested items
Once the trade is accepted, the NPC lists the items needed to fix the vending machine. The list is short, and the items are pulled from common loot pools in the same zone, so there is no need to leave the immediate area. This keeps the player inside a tight play space and reduces the risk of leaving the interaction volume, which would despawn some of the ambient enemies and disrupt the scripted combat trigger tied to the third objective.
| Step | Action | Where it happens | Failure mode to watch for |
|---|---|---|---|
| 1 | Talk to the vendor and accept the trade request. | At the vending machine NPC. | Skipping dialogue and trying to use the vending machine normally. |
| 2 | Collect the requested parts from the surrounding area. | Same hub, scattered between containers and minor enemies. | Leaving the zone and triggering a despawn. |
| 3 | Return the parts to the vendor. | Back at the vending machine NPC. | Dropping the items on the ground before the trade prompt. |
| 4 | Defend the vending machine during the scripted attack. | The same hub, with the vendor as a friendly NPC. | Letting the vendor take lethal damage. |
| 5 | Finish the trade and claim the reward. | The vending machine, after the combat wave ends. | Walking away before the reward screen resolves. |
The collection step also doubles as a way to introduce the player to the local enemy variants. The parts are usually held by or near the same enemy archetypes that the player will fight during the final stand, so the designer is teaching the combat loop a few minutes before it becomes the win condition.
The scripted defense and the final trade
Returning the parts triggers the third objective: a timed defense of the vending machine while the vendor completes the repair animation. The combat wave is small, but the vendor is not invincible, and the vending machine itself becomes a soft objective because the trade completion logic is gated on the machine remaining operational. If the player ignores the enemies and lets the vendor die, the mission can still fail, even though the items are already in the inventory.
Once the wave is cleared, the vendor finishes the repair and offers the final trade. The reward is paid out through the standard quest complete handler, which is the same backend path used by the main story, so any account-wide unlocks or achievement flags are wired in here just as they would be on a critical path mission.
Rewards and why they matter
The verified walkthrough confirms that Vend of the Line pays out a quest completion reward in addition to the standard enemy drops. The exact reward table is not fully itemized in the public walkthrough, so this page does not list specific weapon parts, cash amounts, or XP values. Players who want to optimize the reward should still expect a small but reliable payout, which is consistent with how Gearbox tunes its short side missions.
From a design perspective, the reward is intentionally modest because the mission is meant to be flavor content. It exists to give the vending machine NPC a personality, to teach the player how the local combat loop works, and to pad out the open zone without forcing the player into a long chain of objectives. The reward scales with the player’s current level, which means the same mission can be replayed at a higher level for a better payout, but the design does not depend on that replay loop.
Common failure modes and how to avoid them
Vend of the Line looks simple, but the quest log can soft-lock in a few predictable ways. The most common issues are not bugs in the strict sense; they are edge cases in the state machine that the designers have left in because the recovery path is short.
- Trying to use the vending machine as a vendor before the quest ends: the normal buy menu is disabled while the mission is active, so this only wastes time.
- Dropping the requested items on the ground: the trade prompt requires the items to be in the player’s inventory, not in the world.
- Letting the vendor take lethal damage during the defense wave: the mission will fail and need to be reset by talking to the NPC again.
- Leaving the hub before the final trade completes: the reward screen needs to resolve in the interaction volume, or the trade can stall.
None of these failure modes are destructive, and each one can be fixed by walking back to the NPC. The design is forgiving on purpose, because the mission is meant to be a low-stress detour rather than a skill check.
How the mission compares to other Borderlands 4 side quests
Side For additional context, missions in Borderlands 4 come in several flavors. There are fetch quests built around a single NPC, escort quests that follow an NPC through a small path, defend quests that use a fixed position, and chain quests that unlock a small sub-arc. Vend of the Line is a hybrid of the first and third types: it uses a single NPC vendor, and the climax is a short defend sequence at the same location.
| Mission type | Typical length | Player skill focus | Where Vend of the Line fits |
|---|---|---|---|
| Single-NPC fetch | 5 to 10 minutes | Exploration and inventory management | Matches the first two objectives of this mission. |
| Fixed-position defense | 3 to 5 minutes | AoE damage and cover use | Matches the third objective and the reward gate. |
| Short escort | 8 to 12 minutes | Mobility and target priority | Not used in this mission. |
| Multi-step chain | 20 to 40 minutes | Long-session pacing and quest log reading | Not used in this mission. |
The hybrid structure lets the mission feel like a complete story without asking the player to commit to a long session. It is the same pattern that worked for Torgue and Tediore side content in earlier entries, and it remains effective in Borderlands 4 because the writing and the combat beat land inside a single play space.
Under the hood: the state machine behind a short mission
For developers, the most interesting part of Vend of the Line is not the gameplay. It is the state machine that ties the dialogue, the inventory check, the combat trigger, and the reward payout into a single, forgiving flow. The mission can be modeled as a small directed graph with a handful of states, a couple of fail edges, and a single success edge that funnels back to the standard quest complete handler.
A simplified pseudocode outline of that flow looks like this:
- State 0 (Idle): vendor emits barks, vending machine is in default mode.
- State 1 (Offered): player has accepted the trade, vending machine interactions are disabled, quest log shows the collection step.
- State 2 (Collected): the requested items are in the player’s inventory, the trade prompt is available at the vendor.
- State 3 (Defending): the repair animation has started, a combat wave is active, the vendor takes damage from enemies.
- State 4 (Reward): the wave is cleared, the final trade resolves, and the standard quest complete handler runs.
Each transition is gated on a single condition, which is why the recovery path is so forgiving. If the player dies during the defense wave, the mission returns to State 2 on respawn, so the collection step does not have to be repeated. That is a deliberate design choice, and it is the kind of pattern that scales well when a studio ships dozens of side missions in the same release.
Design lessons for small mission systems
Vend of the Line is a useful case study for studios that want to ship large volumes of short side content without bloating their quest logs. A few patterns stand out.
- Use a single NPC anchor so the player always knows where to return. This keeps the quest log readable and reduces navigation overhead.
- Gate the reward on a defend sequence at the same location. This avoids the long traversal that breaks pacing in fetch quests.
- Disable the vendor’s normal behavior during the quest to prevent the player from accidentally short-circuiting the state machine.
- Return the player to the collection state on death, not to the start of the mission. This keeps retries cheap and the player’s frustration low.
- Use a small, repeatable combat wave instead of a unique boss. This keeps balance work minimal and lets the reward scale with the player’s level.
None of these patterns are novel on their own, but Vend of the Line is a clean example of all five applied to a single, short encounter. Studios that need to expand an open world with low-cost content can copy the structure almost line for line.
Tips for a clean first completion
For players who want a smooth first run, a few practical habits make the mission easier without changing the outcome.
- Clear the immediate area of enemies before you accept the trade, so the defense wave does not overlap with existing threats.
- Keep at least one AoE weapon equipped for the defense wave, since the enemies tend to spawn in a tight cluster around the vending machine.
- Do not buy from the vending machine while the quest is active. The buy menu is disabled, but the visual cue can mislead new players.
- Stay near the vendor during the repair animation. The mission does not require the player to stay in one spot, but leaving the volume can despawn the wave and stall the quest.
- Pick up the reward from the vendor before you move on. The quest complete handler runs the moment the trade resolves, so walking away too early can leave the payout pending.
These tips are general Borderlands 4 habits, but they apply cleanly to Vend of the Line because the mission is so tightly scoped.
Co-op considerations
Vend of the Line works in co-op, and the underlying state machine is designed to handle multiple players. The mission state is held on the NPC actor and replicated to each connected client, so the dialogue and reward prompts show up for every party member. The defense wave scales with the number of players in the session, but the scaling is mild because the wave is small to begin with.
The one co-op edge case to be aware of is the collection step. The requested items are not shared inventory, so each player needs to pick up their own copy if they want the trade prompt to resolve locally. In practice, players tend to split up and grab one item each, then meet back at the vendor. The mission does not require this, but it is the fastest way to clear the step in a full squad.
What the mission does not do
It is worth being explicit about what Vend of the Line does not do, because the scope is easy to overstate. The mission does not unlock new areas, does not change the open world, and does not affect the main story. It does not introduce a new vendor inventory, and it does not add a new crafting recipe. The reward is paid out through the standard quest complete handler and is consumed in the same way as any other side mission reward.
Players who are looking for a meaningful progression boost should treat Vend of the Line as flavor content. The mission is worth doing for the writing and the small combat set piece, but it is not a path to a hidden weapon or a secret boss. The verified walkthrough on Game8 does not list any hidden reward beyond the standard payout, so any claim about a secret payoff should be treated as unverified until Gearbox confirms it.
Verifying mission details
Because Borderlands 4 side missions can be patched after launch, it is worth checking the current version of any walkthrough before relying on the step order. The Vend of the Line walkthrough on Game8 is the source used for the objective structure here, and it should be re-checked if a new patch changes the hub layout or the vendor’s inventory. For deeper engineering questions, the Borderlands 4 official documentation and patch notes are the authoritative reference, and they are the right place to look for any change to the quest state machine or the reward table.
If a future patch changes Vend of the Line, the most likely edits are to the reward values, the enemy composition of the defense wave, or the dialogue at the start of the mission. The state machine structure is unlikely to change because it is shared with many other side missions, and rewriting it would be more expensive than adjusting the individual values.
Quick reference checklist
For players who want a single screen to scan before they start, the mission reduces to a short list of confirmed actions.
- Find the vending machine NPC in the named outpost.
- Accept the trade request and listen to the dialogue.
- Collect the requested parts from the surrounding area.
- Return to the vendor and start the repair.
- Defend the vending machine through the scripted wave.
- Complete the final trade and collect the reward.
That is the entire flow. There is no hidden step, no optional objective, and no follow-up chain. The mission is meant to be picked up, finished, and moved on from, which is part of why it is a useful reference for small mission design.
Final notes on the mission and this walkthrough
Vend of the Line is a small mission, but it carries enough design and engineering detail to be worth a closer look. For players, it is a quick detour that pays out a reliable reward and adds a little flavor to the open zone. For developers, it is a clean example of a hybrid fetch and defend mission built on a small state machine, with a forgiving recovery path and a low-cost content footprint. The walkthrough here is anchored to the verified Borderlands 4 Vend of the Line walkthrough on Game8, and any change to the quest should be confirmed against the current patch notes before the steps are taken as final.
Players who enjoy this style of mission will find several similar side quests in the same hub. None of them are required, but they share the same lightweight structure, and they are a good way to fill out a play session without committing to a long chain. The mission is best treated as a small, self-contained story beat rather than a progression gate, and it works best when the player accepts it on those terms.
Frequently asked questions
Where do I start Vend of the Line in Borderlands 4?
The mission starts at a vending machine NPC in a named outpost. Walk into the NPC’s interaction volume, accept the trade request, and the quest will appear in the ECHO log. There is no prerequisite story milestone or earlier side quest required.
Do I need to finish the main story before starting Vend of the Line?
No. The mission is a side quest and is available as soon as the player reaches the hub where the vendor is located. The mission does not gate any main story content, and the main story does not gate this mission.
What does Vend of the Line ask the player to collect?
The NPC asks for a short list of parts that can be found in the same hub. The items are drawn from common loot pools, so there is no need to leave the area to complete the collection step.
Can I fail Vend of the Line?
Yes. The most common failure is letting the vendor die during the scripted defense wave. The mission can also soft-lock if the requested items are dropped on the ground or if the player leaves the interaction volume before the final trade resolves.
What happens if I die during the defense wave?
On respawn, the mission returns to the state where the parts have been collected. The collection step does not have to be repeated, and the player can immediately talk to the vendor to restart the defense wave.
Does Vend of the Line work in co-op?
Yes. The mission state is replicated to each connected client, and the defense wave scales with the number of players in the session. Each player needs to collect their own copy of the requested items, because the inventory is not shared.
What is the reward for completing Vend of the Line?
The verified walkthrough confirms a standard quest completion reward, but it does not itemize a specific weapon, cash amount, or XP value. The reward scales with the player’s level, and the exact payout should be checked in the current version of the walkthrough if a precise value is needed.
Is Vend of the Line required for any achievement or unlock?
The mission does not gate any main story content or open new areas. Any achievement or account-wide unlock tied to the mission would be listed in the verified walkthrough, so players who are hunting completion should re-check the source if a new patch is suspected.
How long does Vend of the Line take to complete?
The mission is designed to be finished in well under fifteen minutes on a first playthrough. The exact time depends on how quickly the player clears the surrounding enemies and how familiar they are with the hub layout.
Can I replay Vend of the Line for a better reward?
The mission can be picked up again after a save reload, but the reward scaling follows the standard side quest rules. Players who want a better payout are usually better off waiting for the next level band rather than grinding the same mission repeatedly.

Leave a Reply