

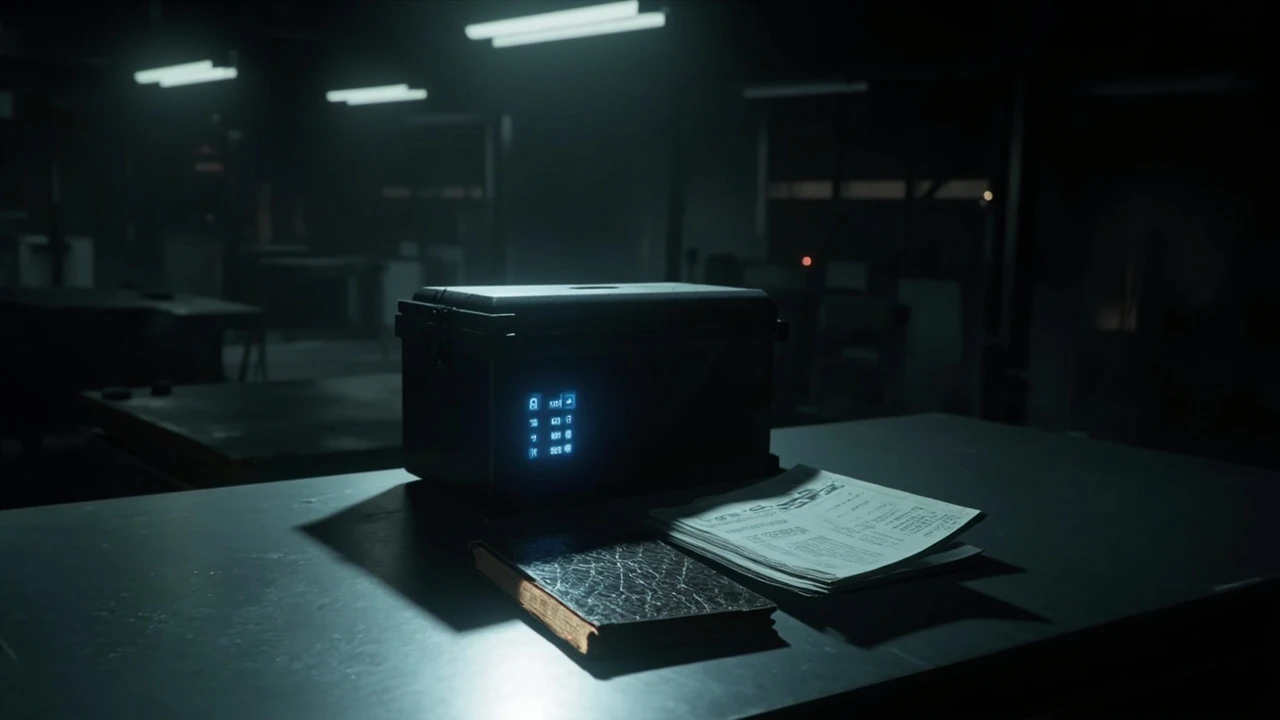
Resident Evil Requiem organ transport box: how to open it
The Resident Evil Requiem organ transport box is one of the first sealed containers a player meets inside the Raccoon City research facility, and the lock on the lid is not a simple keyhole. The cooler-style case sits in the West Wing garage, and the only way to open it is a four-step keypad sequence that the game refuses to print on the wall above the box. Most first attempts fail, because the input order is hidden in a side document that the player has not picked up yet, and the panel does not give useful feedback beyond a short lockout.
This walkthrough covers the exact room where the container is found, the document you need to read before you can solve it, the steps to enter on the keypad, the item you receive when the lid pops, and the design reasons Capcom hides a short combination behind a small piece of in-game fiction. It also covers the soft reset on the side of the panel, the most common ways players lock themselves out, and what the reward actually unlocks later in the chapter.
Where to find the organ transport box in the West Wing
The container is sitting on a low metal shelf near the back wall of the West Wing garage. The room is not reachable at the start of the chapter. A security point in the East Wing corridor blocks the route, and that point only opens once the player picks up an ID Wristband (Level 1) from the earlier rooms. Once the wristband is in the inventory, the security point accepts it on the next pass, and the West Wing garage becomes one of the first large rooms available in the mid-game.
The box itself is easy to spot. It is roughly the size of a small suitcase, painted in the same off-white as the rest of the medical equipment, and a thin strip of blue light runs along the keypad on the side. The glow is the visual signal that the object is interactive. There is no other container in the garage that uses a four-step combination, so the box is not competing for attention with anything else in the room.
If the West Wing is still locked when the player arrives, the correct move is to clear the East Wing corridor, find the level 1 wristband, and loop back. The security point does not respond to lockpicks or to the wristbands of a different tier, so brute force is not an option.
What you need to read before you touch the keypad
Capcom places the answer in a piece of fiction rather than on the wall, and that choice is the reason the puzzle feels unfair on a blind run. The relevant page is inside the Leatherbound Notebook, and the notebook is itself a reward from a separate puzzle box hidden in the Lead Researcher’s Office. A small amount of optional exploration is required before the container can be opened, and the player has to recognise the notebook as useful rather than as flavour text.
The page is a printed instruction sheet that walks through the correct input order for the keypad. Reading the page once is enough; the codes are not stored in the inventory afterwards, but the player does not need them stored because the sequence is short and the order is the only thing that matters. The notebook itself is not a quest item, and it can be sold or stored once the page has been read.
If the player walks up to the box before reading the page, the codes are not visible anywhere else in the environment. The container, the wall, and the surrounding shelves are clean. Brute force is technically possible, but the four-step sequence is long enough that guessing is impractical. The reset button on the side of the panel is the only real safety net, and it is there because the developers expect at least one failed attempt.
Step-by-step solution for the keypad panel
With the Leatherbound Notebook page already read, the rest of the puzzle is mechanical. Walk up to the box, interact with the panel, and enter the four values in the order listed on the pamphlet. The panel accepts one code at a time, and a confirm step is required between each entry. The order is the only thing that matters, because the same four values in a different sequence will not unlock the lid.
- Approach the container and press the interact button to bring up the input panel.
- Enter the first code as printed on the pamphlet page and confirm the entry.
- Enter the second code from the same page and confirm the entry.
- Enter the third code from the same page and confirm the entry.
- Enter the fourth and final code; the lid pops with a short animation and a soft click.
- Press the interact button once more to lift the lid and collect the reward from inside.
If a value is entered incorrectly, the panel flashes red, displays a short warning, and disables input for a few seconds. The cooldown is short, and the reset button on the side of the panel clears the queue and starts the sequence from the first slot. There is no limit on resets, so a player who wants to memorise the codes by feel can fail as many times as needed without any penalty beyond the time cost.
The item you receive: Artificial Lungs
The reward inside the Resident Evil Requiem organ transport box is the Artificial Lungs key item. The lungs are a progression object, not a consumable, which is the reason the puzzle exists in the first place. The item is consumed later in the chapter by an environmental puzzle, and the game refuses to spawn that puzzle until the lungs are in the key-item slot. In other words, the box is the only practical way to advance past the West Wing section without a workaround.
The lungs do not stack with other organ items, they cannot be sold to any merchant in the game, and they remain in the key-item slot until the environmental puzzle consumes them. The item description on the inventory screen hints at the organ’s origin story without giving away the exact room where the lungs are eventually used, which makes the description worth reading if the player wants extra context.
| Attribute | Value |
|---|---|
| Item name | Artificial Lungs |
| Item category | Key item (chapter progression) |
| Source | Resident Evil Requiem organ transport box |
| Room location | West Wing garage |
| Access requirement | ID Wristband (Level 1) |
| Reading requirement | Leatherbound Notebook page (Lead Researcher’s Office puzzle box) |
| Stackable | No |
| Sellable | No |
| Used in | Environmental organ puzzle, later in the chapter |
Common mistakes and how to avoid them
Most failed attempts come from a small set of repeatable errors. Spotting them before the player even touches the panel saves a lot of trial and error, and it removes the temptation to reload the save every time the lockout cooldown kicks in.
- Walking up to the box before reading the Leatherbound Notebook page. The codes are not on the container, the wall, or any nearby poster, so the panel looks unsolvable from the start.
- Entering the four values in the wrong order because the digits look similar at a glance. The pamphlet lists them in a strict sequence, and a transposed pair is the most common cause of a red flash.
- Walking away from the panel mid-input and triggering the lockout cooldown on an empty queue. The reset button only works when the panel is idle, so a half-entered attempt has to be cleared first.
- Forgetting that the relevant page is inside the Leatherbound Notebook rather than on its own. The notebook is the only place where the codes are visible.
- Trying to interact with the box before the West Wing security point has been opened. The room itself is gated behind the ID Wristband (Level 1), and the container cannot be reached without it.
If the game refuses to let the player interact with the panel at all, the most common cause is that the West Wing is still locked. The fix is to clear the East Wing corridor, find the level 1 wristband, and return. The container does not move, the keypad does not change state, and the puzzle is fully scripted, so a second visit works exactly like the first.
Why the puzzle exists: design context
From a level-design point of view, a small sealed container like the Resident Evil Requiem organ transport box is a teaching tool. It introduces three mechanics at once: reading environmental documents rather than signage, committing to a specific input order rather than a single code, and using a soft reset on the side of the panel rather than reloading the save. Capcom repeats the same pattern across the chapter so that the harder combinations in the later rooms feel familiar instead of arbitrary.
The container is also a routing device. The Leatherbound Notebook comes from a separate puzzle box in the Lead Researcher’s Office, which forces a short detour and rewards players who explore optional rooms. The lungs then route the player toward a later environmental puzzle, so a single item chains three different rooms together. Removing the container would break that chain, which is the practical reason the box is a fixed element of the West Wing rather than a randomised drop. The route is short on purpose: missing one step is recoverable, but skipping the document means a dead end.
| Design element | Effect on the player |
|---|---|
| Hidden instruction document | Pushes the player toward the Lead Researcher’s Office optional room. |
| Strict input order | Forces attention to written clues rather than visual ones. |
| Soft reset on the panel | Removes the punishment for experimentation and trial input. |
| Key item as a reward | Chains the West Wing to a later environmental puzzle in the chapter. |
| Required ID Wristband tier | Forces progression through the East Wing first and prevents backtracking skips. |
| One-time scripted spawn | Makes the lungs a guaranteed pickup rather than a random drop. |
What to do after you open the box
Once the lid pops and the Artificial Lungs are sitting in the key-item slot, the most useful next step is to finish clearing the rest of the West Wing before leaving the area. The lungs are inert until they reach a specific environment, and the wing is small enough that a clean sweep is faster than backtracking later. There is no time pressure on the puzzle, and the game does not despawn the lungs after the box is closed again.
From the garage, head back through the security point and into the East Wing corridor. Continue the main chapter objective, and the lungs will trigger their own event the moment the player reaches the correct room. Trying to use the lungs out of order does nothing: the item is not a healing consumable, it does not stack with other organs, and it does not interact with the inventory screen in any other way. Once the environmental puzzle consumes it, the slot empties and the rest of the chapter continues as normal.
How the box fits into the broader puzzle chain
The organ transport box is one of several sealed containers in the chapter that share the same hidden-document pattern. Treating each container as part of a chain, rather than a standalone puzzle, is the fastest way to clear the West Wing and the rooms that follow it. The chain is short and the items are scripted, so the order of the pickups is fixed.
- Lead Researcher’s Office puzzle box: rewards the Leatherbound Notebook that contains the organ transport instructions on a single printed page.
- Resident Evil Requiem organ transport box: rewards the Artificial Lungs used by the next environmental puzzle in the chapter.
- Environmental organ puzzle: consumes the Artificial Lungs to unlock the next room and the next main story beat.
- Safe codes scattered through the facility: reward charms, lockpicks, and upgrade currency that are useful but optional for the main path.
The chain is intentionally short so that missing one step is recoverable, but skipping the document means a dead end. The first three entries are required for the main story; the safes are not. Players who only collect the scripted chain still finish the chapter, while players who also crack the safes have more upgrade currency to spend later.
Troubleshooting checklist
If the container still will not open after following the steps above, run through this checklist before reloading the save. Each item is a separate failure mode that has a different fix, and most cases fall into one of them.
- Confirm the ID Wristband (Level 1) is in the inventory and that the West Wing security point has already been opened on this visit.
- Confirm the Leatherbound Notebook is in the inventory and that it has been opened at least once so the page is marked as read.
- Re-read the relevant page in the notebook; the in-game journal marks read pages with a small icon, but the codes do not get stored on the panel itself.
- Confirm the input order matches the pamphlet exactly, with no transposed digits and no skipped confirm step between entries.
- Confirm the panel has been reset with the side button after any failed attempt before starting the next try.
If all of the above are true and the box still refuses, the most common cause is a soft lock from leaving the area during the lockout cooldown. Walk away for thirty seconds, return, and the panel will accept a fresh attempt. The puzzle is fully scripted, so a working save is never blocked by a bad roll of the random number generator.
Frequently asked questions
Where is the Resident Evil Requiem organ transport box located?
The container is in the West Wing garage. The room is only accessible after the player picks up the ID Wristband (Level 1) and uses it to open the security point between the East Wing and the West Wing.
Do I need the Leatherbound Notebook to open the box?
Yes. The four codes are printed on a single page inside the Leatherbound Notebook, which is itself a reward from the separate puzzle box in the Lead Researcher’s Office. Without that page, the codes are not visible anywhere else in the room.
What item is inside the Resident Evil Requiem organ transport box?
The reward is the Artificial Lungs, a key item used by a later environmental puzzle. It is not a consumable, it does not stack with other organ pickups, and it cannot be sold to any merchant in the game.
What happens if I enter the wrong code on the keypad?
The panel flashes red, displays a short warning, and disables input for a few seconds. After the cooldown, the reset button on the side of the panel restarts the sequence. There is no penalty beyond the time cost.
Can I open the box before I find the Leatherbound Notebook?
Technically yes, but the four-step sequence is long enough that brute force is impractical. The intended path is to clear the Lead Researcher’s Office first, read the relevant page in the notebook, and then return to the container.
Is the Artificial Lungs item required to finish the chapter?
Yes, in the sense that the environmental puzzle that consumes the lungs is part of the main chapter progression. Skipping the container blocks the next section of the story, and there is no alternative way to obtain the lungs.
Can I sell the Artificial Lungs for extra currency?
No. The lungs are a key item, and the inventory screen does not allow them to be sold, dropped, or traded to another character. They remain in the key-item slot until the environmental puzzle consumes them.
Does the box respawn or restock after a save reload?
No. Once the Artificial Lungs are collected, the box stays empty and the panel remains inert. A reload does not respawn the item, so picking it up is permanent for that playthrough on every difficulty.
Are the codes the same on every difficulty?
The verified solution is the same on the standard difficulty, and the pamphlet does not change between playthroughs. The codes are consistent for the duration of a save, so a New Game Plus run uses the same four values in the same order.
Where can I read more about Resident Evil Requiem puzzle design?
PC Gamer’s walkthrough covers the organ transport box solution in detail, including screenshots of each step of the sequence and notes on where the Leatherbound Notebook page is found in the Lead Researcher’s Office.

Leave a Reply