

Arc raiders supply drop locations across every battleground
Every extraction shooter lives or dies by its loot flow, and Arc Raiders turns that flow into a public event. The map is dotted with radio antennas called Call Stations, and a squad that learns where those antennas sit, how to use them without giving away its position, and how to read the sky once the flare goes up will pull more value from a raid than a squad that simply hunts scrap piles. The arc raiders supply drop locations below are organized by region so a player can plan a route, decide when to commit, and decide when to walk away from a contested antenna.
Call Stations are the only intended way to summon a Supply Drop pod, and the pod is one of the few sources of bulk ammo, crafted materials, and field consumables that arrives mid-raid rather than at extraction. Treat each Call Station as a small objective with its own risk profile, the same way a designer treats an extraction point or a high-value spawn room: a known good location, a known attack vector, and a known reward ceiling.
How Call Stations actually work
Before plotting routes, it helps to understand the loop a Call Station triggers, because the loop explains why the same antenna feels different from one raid to the next.
- Call Stations are small antennas placed in open areas on each map, not tucked inside buildings or behind closed doors.
- Activating a station takes time, so any raider already nearby will see you commit and may pre-aim the drop zone.
- A flare fires into the air the moment the call goes out, which is a global broadcast of your position to every squad on the map.
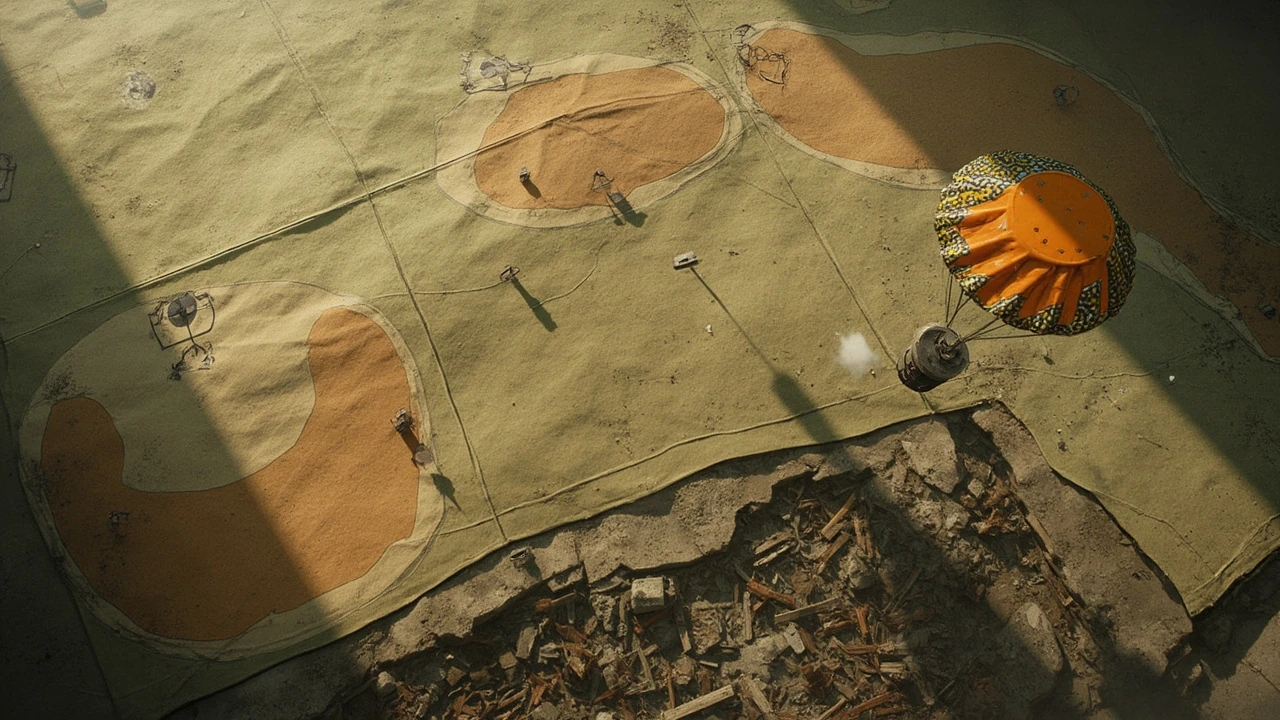
- The Supply Drop pod falls from the sky on a visible trajectory, and the team that controls the landing circle usually wins the container.
- Breaching the container yields ammo, crafting materials, and basic supplies, and the pod can be looted by anyone who reaches it first.
That loop is the reason arc raiders supply drop locations become a tactical question rather than a pure navigation one. The antenna is half the puzzle. The sky is the other half, because the arc of the pod is a long telegraph that any squad watching the horizon can read.
Arc raiders supply drop locations on Dam Battlegrounds
Dam Battlegrounds is the largest of the early access maps and the one most squads learn first. The community Call Station map for this region, mirrored in detail by the IGN wiki page on Supply Drop Call Station locations, concentrates most antennas in the center of the region. That clustering is intentional design: the middle of the map is the shortest path from any spawn, which means a calling squad will almost always have at least one rival squad inside radio range.
From a route-planning standpoint, the density creates three practical play patterns.
- Fast-call squads that sprint from spawn to the closest antenna, drop the flare, and try to breach the pod before anyone reacts.
- Counter-squads that ignore the first flare they see and instead pre-aim the visible arc of the falling pod.
- Shadow squads that wait for the first two groups to fight over a pod and then sweep the leftovers during the loot window.
Because most antennas sit near central landmarks, a player who wants safer calls should treat outer antennas as the default and treat central antennas as a deliberate risk trade.
Buried City Call Stations and what the smaller map changes
Buried City is a tighter map with fewer total Call Stations, and that smaller count changes the value of each antenna. When only a handful of stations exist on a compact map, every squad in the lobby is funneling toward the same handful of rooftops and intersections. The IGN wiki entry on Call Station locations lists the Buried City antennas as a small set, which means route memorization is more rewarding here than on the larger maps.
A useful Buried City habit is to learn two stations per quadrant of the map. That gives a player a primary call site and a fallback call site if the primary is already lit by another squad’s flare. It also keeps a squad from getting pinned in a dead-end alley by a counter-squad that read the sky and flanked the obvious antenna.
Blue Gate antennas and the ARC presence problem
Blue Gate is described by the same wiki source as having a higher than normal ARC presence, which is a separate variable from raider presence. ARC units patrol the map on their own logic, and a Calling squad that triggers a flare also has to manage the chance that ARC patrols close on the flare and turn the loot zone into a three-way fight. On Blue Gate, the arc raiders supply drop locations need to be paired with a mental note of which antennas sit near known ARC patrol corridors, because the safest call site is one where ARC traffic is lightest during the call window.
A practical rule on Blue Gate is to scout the antenna for thirty seconds before activating it. If ARC units are visible, either wait them out, rotate to a quieter antenna, or commit only if the squad has a plan for a three-way fight.
Spaceport Call Stations and vertical sight lines
Spaceport is the map where the sky matters most, because tall structures and open hangars give any watching squad a long, clean line on a falling pod. The community map of Supply Drop Call Stations on Spaceport tends to favor antennas on rooftops and on the edges of large open pads, which means a calling squad should plan for the pod to land somewhere with limited cover rather than in a tight courtyard.
Two Spaceport-specific habits help:
- Pick a call site that lets the pod land near a piece of hard cover the calling squad already controls, so the breach phase is shorter.
- Treat any high-vantage position within line of sight of an antenna as a pre-aimed counter-call site, and avoid those antennas unless a sniper is on the squad.
Stella Montis Call Stations and the late-game pressure
Stella Montis sits later in the rotation and tends to attract squads that are already geared, which raises the average skill level at every antenna. The community Stella Montis map, again captured in the same Supply Drop Call Station wiki page, shows antennas distributed across the facility in a way that rewards map knowledge more than raw sprint speed. Players who learn the interior routes here can call, breach, and extract from a pod without ever crossing an open courtyard.
For new players, the safer play on Stella Montis is to call only when the squad already holds a defensible room nearby. Calling in the open on Stella Montis is a fast way to hand a geared squad a free loot box.
Riven Tides antennas and the newest map variables
Riven Tides is the newest battleground in the rotation, and its antenna set is still being mapped by the community. Treat the published Riven Tides Call Station list as a working draft rather than a finished grid, and expect hot patches to move or add antennas as the developers tune the loot flow. When a new map launches, the safest habit is to scout an antenna from a distance first, confirm it still exists, and only then commit the squad to a long call animation.
Reading the sky once the flare goes up
The flare is the loud part of the call, but the pod arc is the quiet part. A pod launched from any antenna will follow a visible trajectory toward a landing circle, and the calling squad is not the only squad that can see that arc. The defensive skill that separates good Call Station users from great ones is the ability to read the sky and predict where a pod will land before it lands.
Three sky-reading habits help.
- Watch the horizon, not the antenna. The antenna tells you someone is calling. The arc tells you where the loot will actually be.
- Track wind and map orientation. Pods on Arc Raiders maps do not always fall straight down, and a small drift can move the landing circle one building over.
- Use the pod arc as a timer. The visible flight time is the only warning other squads get, and a counter-squad that starts moving during that window reaches the landing circle on time.
When to call and when to walk away
Not every antenna is worth a call. A good rule of thumb is to commit only when three conditions are met.
- The calling squad controls at least one piece of hard cover inside the predicted landing circle.
- No other flare is visible on the horizon, which would mean a second squad is also committed.
- The squad has an extraction plan that does not require crossing the most obvious chokepoint on the map.
If any of those three conditions fails, the expected value of the pod drops below the expected cost of a lost raid. Walking away from an antenna is a real skill, and the players who learn it keep more loot than the players who call every antenna they find.
Common Call Station mistakes and how to avoid them
Most Call Station deaths fall into a small number of repeatable patterns, and naming them is faster than learning each one the hard way.
| Mistake | What it looks like in a raid | Better habit |
|---|---|---|
| Calling from a roof with no cover | Squad stands in the open, flare fires, every watching squad opens fire | Drop down to ground level or pick an antenna next to a building |
| Calling while a rival flare is up | Two squads commit to the same pod, third squad sweeps the winner | Hold the call until the rival flare fades and the rival squad disengages |
| Ignoring ARC patrols on Blue Gate | Squad calls, ARC units close in, fight becomes a three-way | Scout the antenna for thirty seconds and wait out ARC traffic |
| Standing still during the call animation | Calling player is an easy target during the long activation | Use a teammate as overwatch while the caller commits |
| Loitering near the pod after breaching | Squad spends too long sorting loot and gets flanked | Breach, grab, move to a new cover position, then sort the inventory |
Each of those mistakes is a small decision that compounds across a full raid. Avoiding all five is the difference between a squad that treats Call Stations as a loot source and a squad that treats them as a win condition.
Choosing the right antenna for the squad’s role
Different squads want different things from a pod, and the arc raiders supply drop locations that are worth a call depend on the squad’s role composition.
| Squad role | Preferred antenna profile | Reason |
|---|---|---|
| Fast-call skirmish squad | Central antenna on the largest map, shortest sprint from spawn | Speed beats the rival squad’s reaction time |
| Counter-squad | Vantage point with line of sight to multiple antennas | Read the sky, not the antenna, and pre-aim the landing circle |
| Loot-haul squad | Outer antenna with a hard cover route to extraction | Lower call competition, safer breach, cleaner extract |
| Solo player | Antenna with a quick-escape route into a side alley | Solo players cannot hold a contested pod, so they need an exit plan |
Picking the antenna that fits the squad’s role is a small change in habit that produces a large change in raid outcomes.
Building a Call Station habit loop
Players who get consistent value from arc raiders supply drop locations usually run the same loop every raid, and the loop is short enough to memorize.
- On drop, glance at the squad’s planned route and mark the closest two antennas on the mental map.
- While moving, scan the horizon for any active flare and adjust the route if a rival squad is already committed.
- On arrival, scout the antenna for ARC presence and rival players for at least ten seconds.
- Commit the call with a teammate on overwatch, breach the pod the moment it lands, and move to a new cover position.
- After the raid, note which antenna gave value and which one burned the squad, and update the next raid’s plan accordingly.
That loop is the same loop a developer would use to evaluate a designed objective, and it works here for the same reason: it converts a chaotic moment into a small number of repeatable decisions.
Frequently asked questions
How many Call Stations are on each Arc Raiders map?
The exact count varies by map and changes with patches, but the community maps for Dam Battlegrounds, Buried City, Blue Gate, Spaceport, Stella Montis, and Riven Tides all list multiple stations per region, with the highest concentration on Dam Battlegrounds and the lowest on Buried City. Treat any specific count you see online as a working draft, especially for Riven Tides, where the developer is still tuning the map.
Do Call Station Supply Drops always spawn the same loot?
The pod is a reliable source of ammo, crafting materials, and basic supplies, but the exact mix depends on the raid’s loot table and the player’s progression state. Players who want a specific item should not plan a whole raid around a single pod, since the loot is a bonus, not a guarantee.
Can other players steal a Supply Drop pod I called?
Yes. The flare exposes your position to the entire lobby, and any squad that reaches the pod first can breach the container and take the loot. Treat the call as a public announcement and plan for contest from the moment the flare fires.
Is it safer to call a Supply Drop early or late in a raid?
Late calls tend to be safer because fewer squads are still active and the rival squads that are still up are usually already extracting. Early calls offer more loot competition but also more time to use the supplies. The right answer depends on the squad’s current gear and extraction window.
What is the best way to counter a squad that just fired a flare?
Read the sky, not the antenna. The pod follows a visible arc, and that arc is the real warning. Move toward the predicted landing circle, take a vantage point with line of sight to the circle, and let the calling squad commit to the breach before you push in.
Do Call Stations respawn during a raid?
Call Stations are static map features, so they are always present, but the Supply Drop pod itself is a one-time event per call. A squad can call again from the same antenna if the cooldown allows, but the pod does not persist across calls.
Are there Call Stations inside buildings on any Arc Raiders map?
Call Stations are designed as small antennas in open areas, which keeps the call animation visible and the pod arc readable. The community maps do not list indoor stations, and any indoor antenna you find is either a misreport or a recent addition that has not yet been documented.
How does ARC presence change the value of an antenna?
On maps like Blue Gate, where ARC patrols are dense, an antenna next to a known ARC corridor becomes a three-way fight waiting to happen. A useful habit is to scout the antenna for ARC traffic before committing the squad to a long call animation.
Should solo players bother with Call Stations at all?
Solo players can use outer antennas with a quick-escape route, but they should avoid central antennas that attract multiple squads. The pod loot is valuable, but a solo player cannot hold a contested landing circle, so the expected value of a contested call is often negative.
Where can I find the most up to date arc raiders supply drop locations?
The community wiki pages for each map are the most actively maintained source, and the same IGN wiki page on Supply Drop Call Station locations collects the regional maps in one place. Treat any single list as a working draft and cross-check it against recent raid experience, especially on the newest map.

Leave a Reply